|
Online Patternmaking Classes
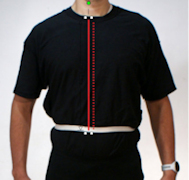
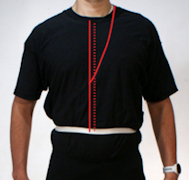
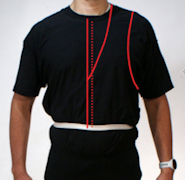
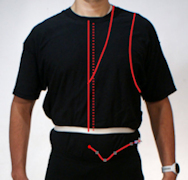
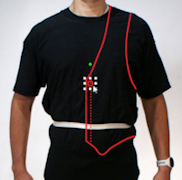
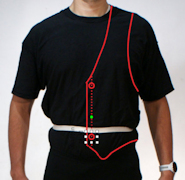
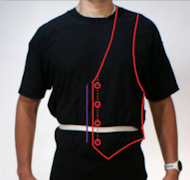
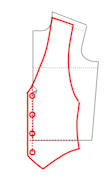
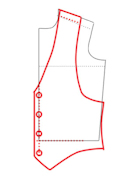
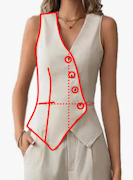
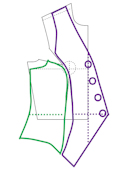
by Don McCunn Designing a VestTwo approaches for creating the pattern for a vest are shown here. One is to draw the design lines on a quarter-scale photo of the person the vest is being made for. The other is to trace the design of a catalog photo after it has been graded to the proportions of the person who is to wear the vest. The photos used for this approach are called Catalog Photos because this type of photo should be full front and clearly indicate the design of the garment. Most often these photo show the front of the garment but not the back. The treatment of the back is a matter of establishing fit and design lines that will true up with the front. ContentsDesigning on the Photo of a PersonThe design lines of the vest can be drawn on a quarter-scale photo of the person the vest is being made for. These lines can then be copied to the Master Pattern and adjusted to the size required.
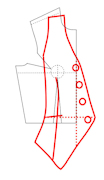
Tracing a Catalog PhotoWhen you trace a Catalog Photo, the lines for the design are established. When you compare the tracing to the Master Pattern of the person who will wear the vest, the lines of the design can be adjusted. To achieve the best fit for this design, the darts are changed to a Princess Seam.
Copyright © 2026 by Donald H. McCunn
| ||||||||||||||||||||||||||||||||